

The night sky holds endless wonders, but few experiences match the thrill of photographing planets in vivid detail. With even a modest telescope and camera setup, you can capture cloud bands on Jupiter, the majestic rings of Saturn or the polar caps of Mars — images once the preserve of professional observatories. This technique, known as lucky imaging, records short video clips at high frame rates to freeze fleeting moments of steady air, then stacks the sharpest frames into one crisp photo.
No advanced skills are required to start. Whether you own a modest backyard telescope or are shopping for your first planetary camera, this guide provides everything needed to succeed. You will learn a complete workflow that takes you from set-up to finished image, explore why certain planets are easier than others and find answers to practical questions that beginners often ask.
Clear skies, patience and practice are your only limits. Soon you will be creating gallery-worthy shots right from home.
Step-by-step tutorial: Imaging planets with a telescope and camera
Planetary imaging relies on video capture rather than single long exposures. Follow these 12 steps for reliable results with most setups. Planning observations in advance is essential!
1. Check weather conditions
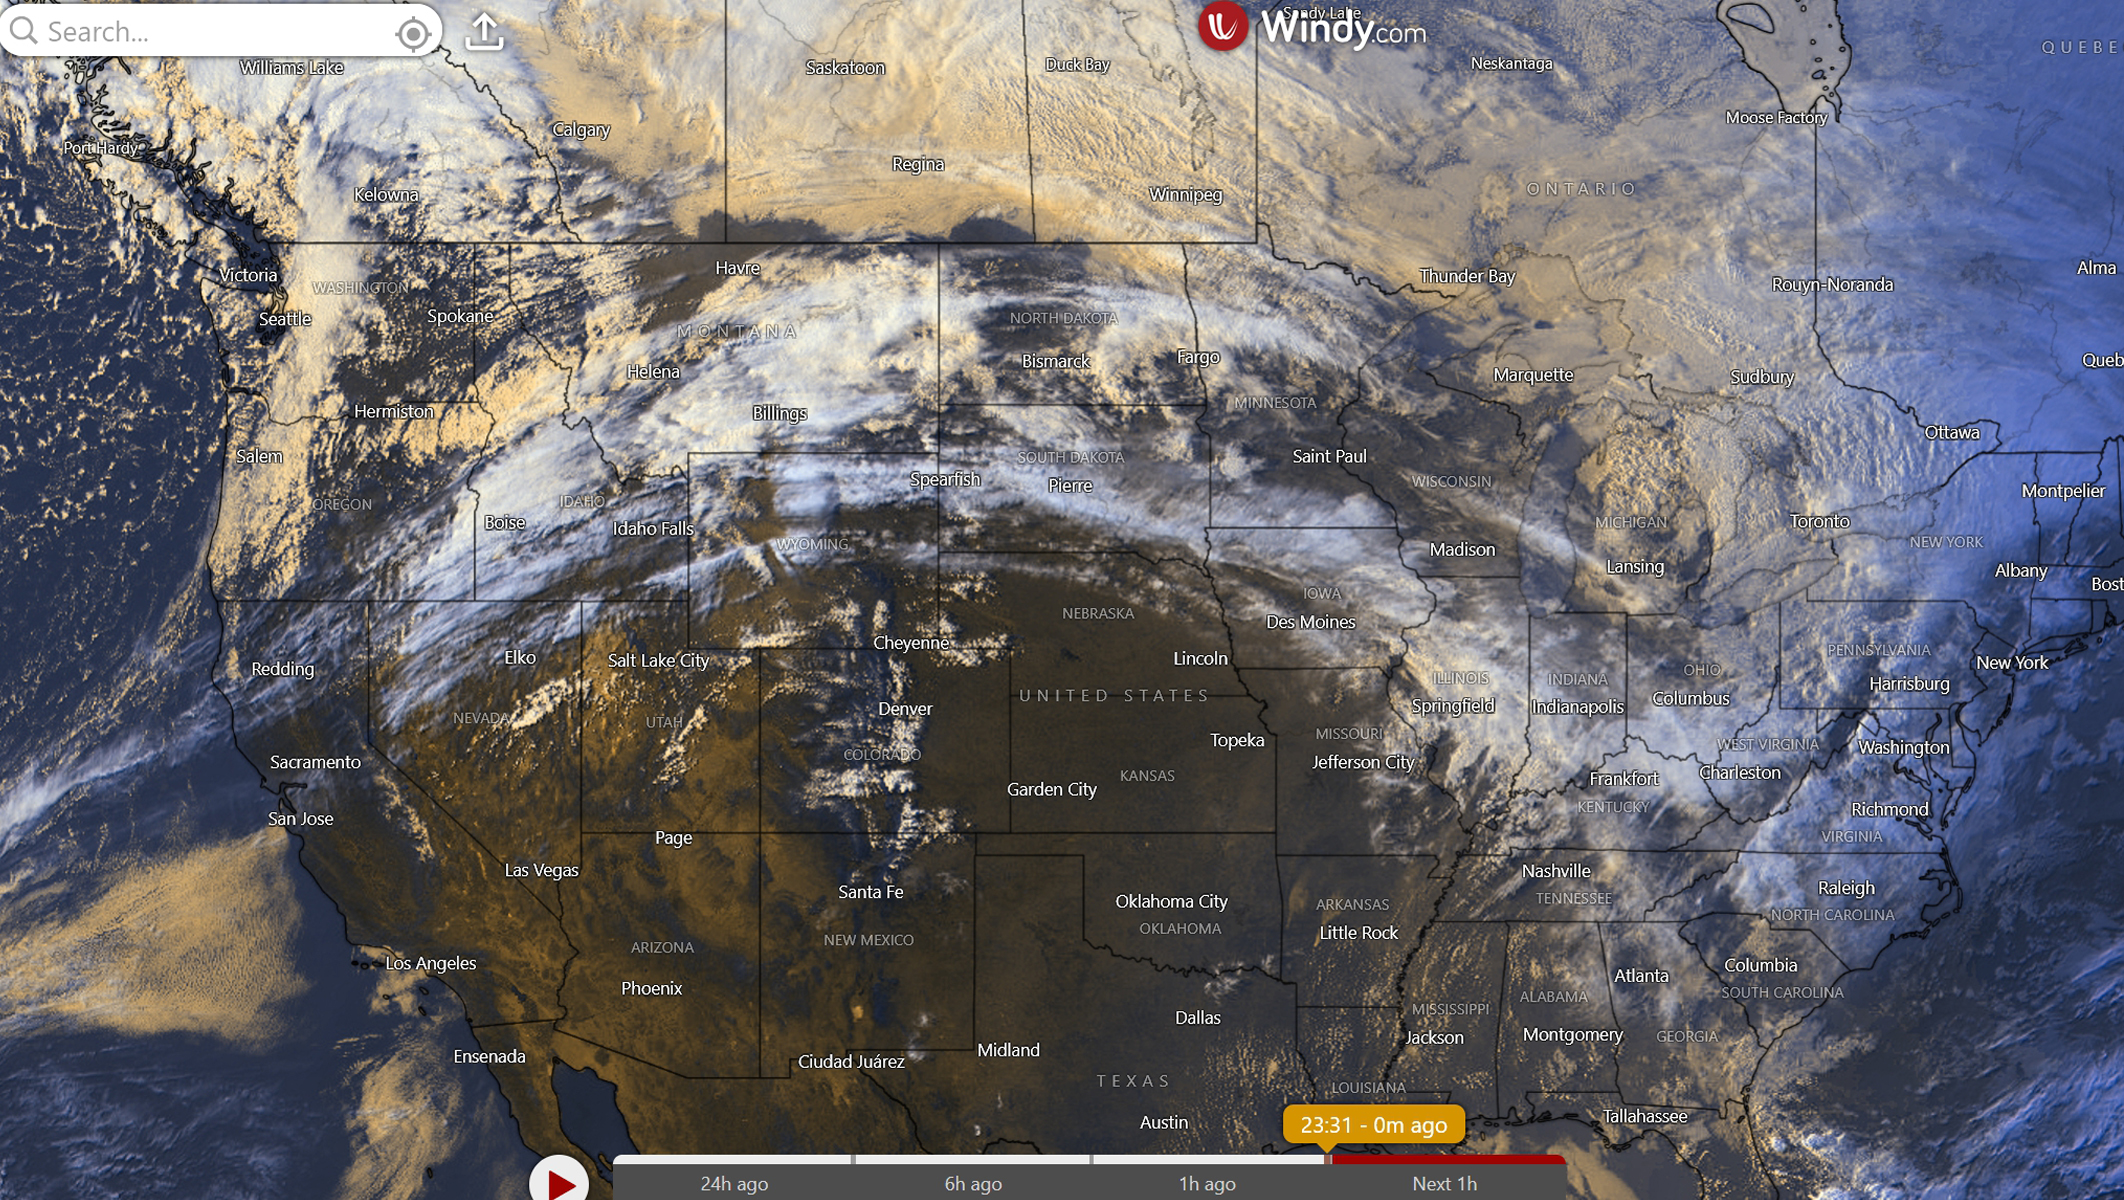
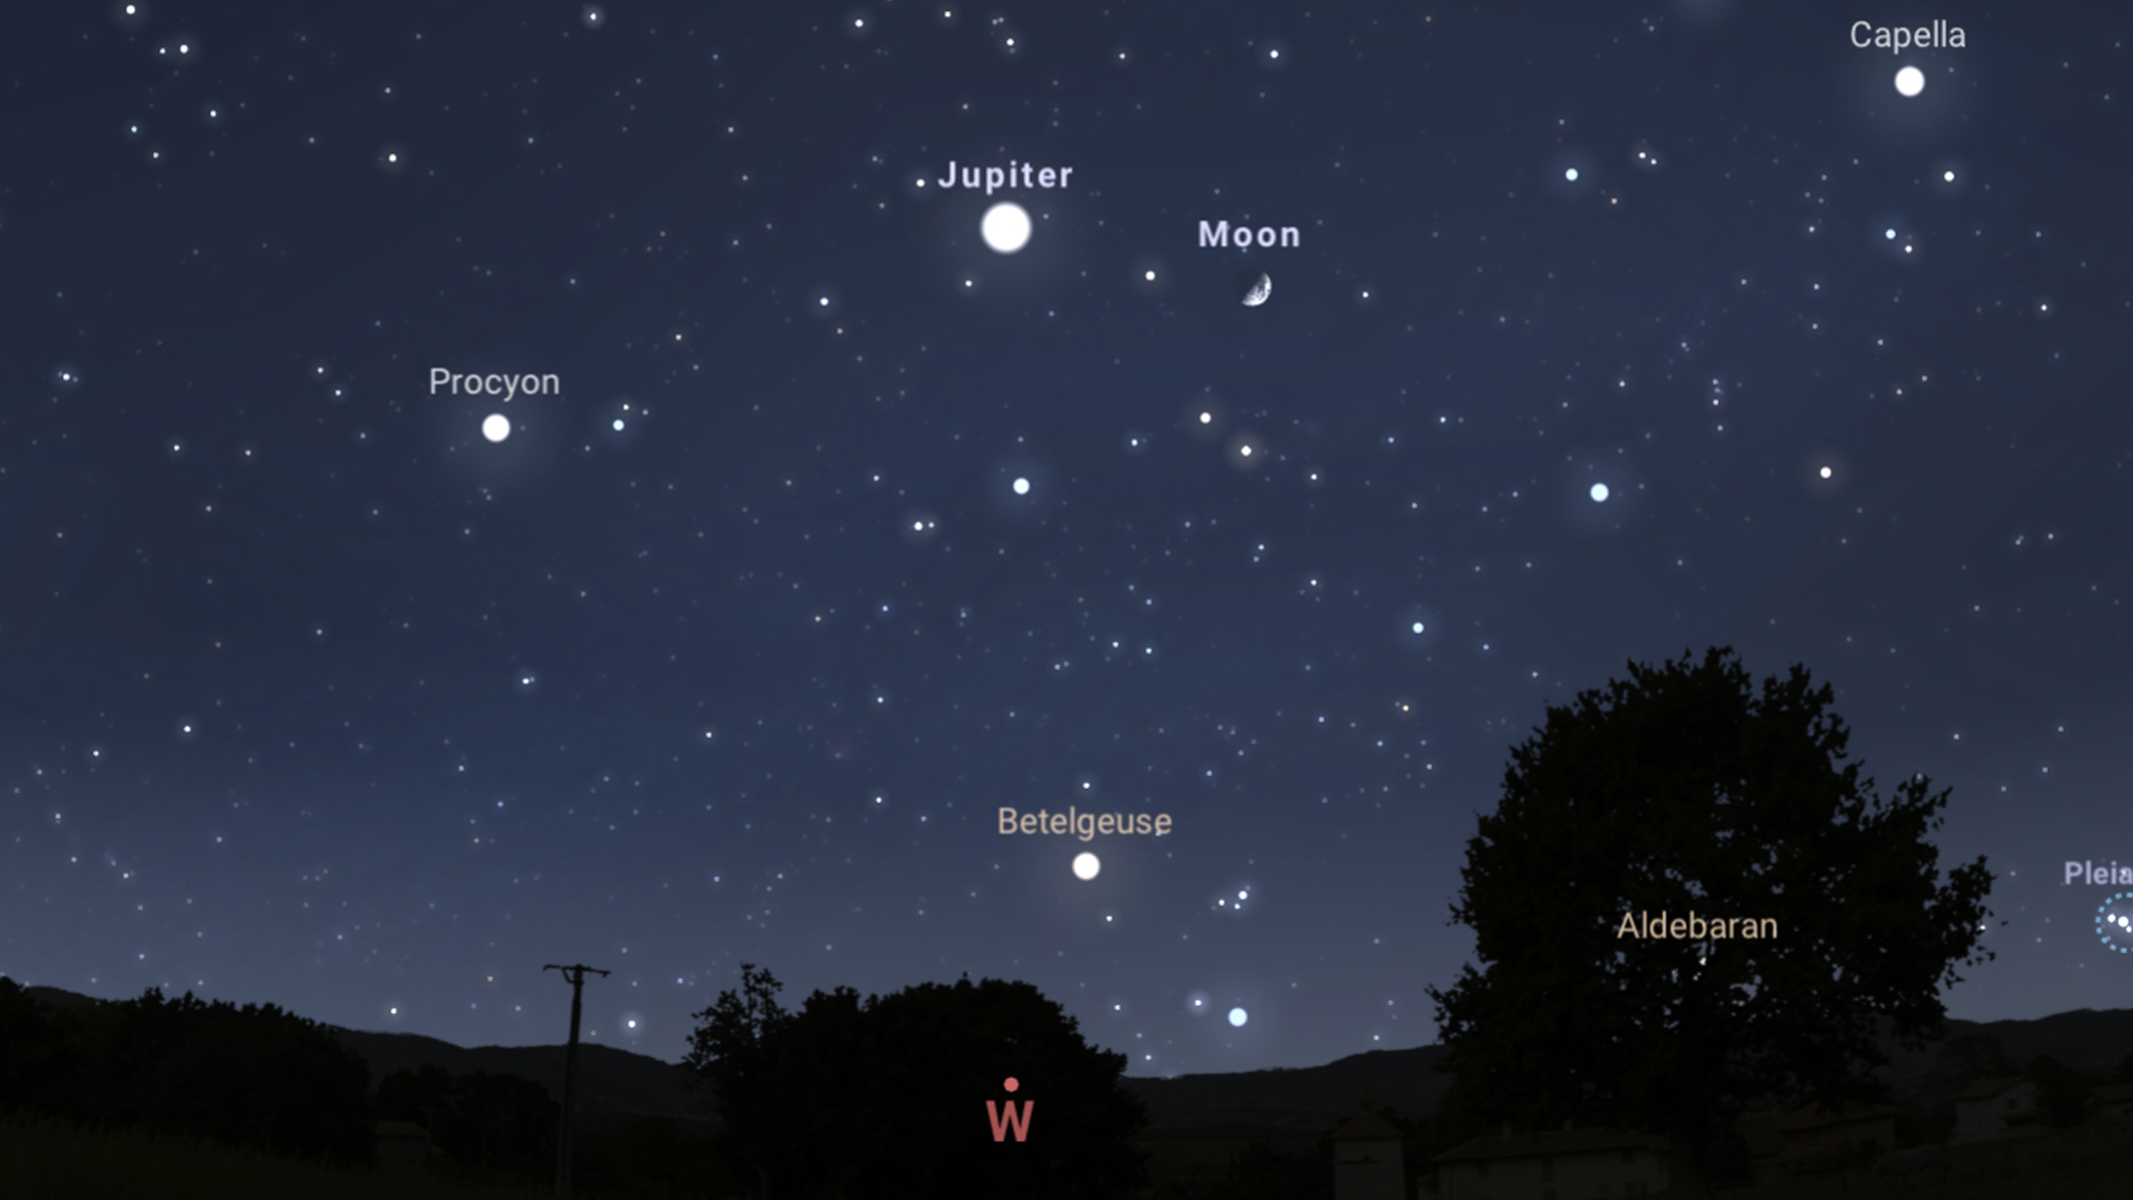
Check conditions and plan your target. Use a planetarium app such as Stellarium or a site like TimeAndDate.com to confirm the planet is visible and high in the sky. Review weather forecasts and seeing predictions on ClearDarkSky.com or Windy.com. Good seeing — stable, calm air — makes all the difference when it comes to this kind of imaging!
2. Set up before night time
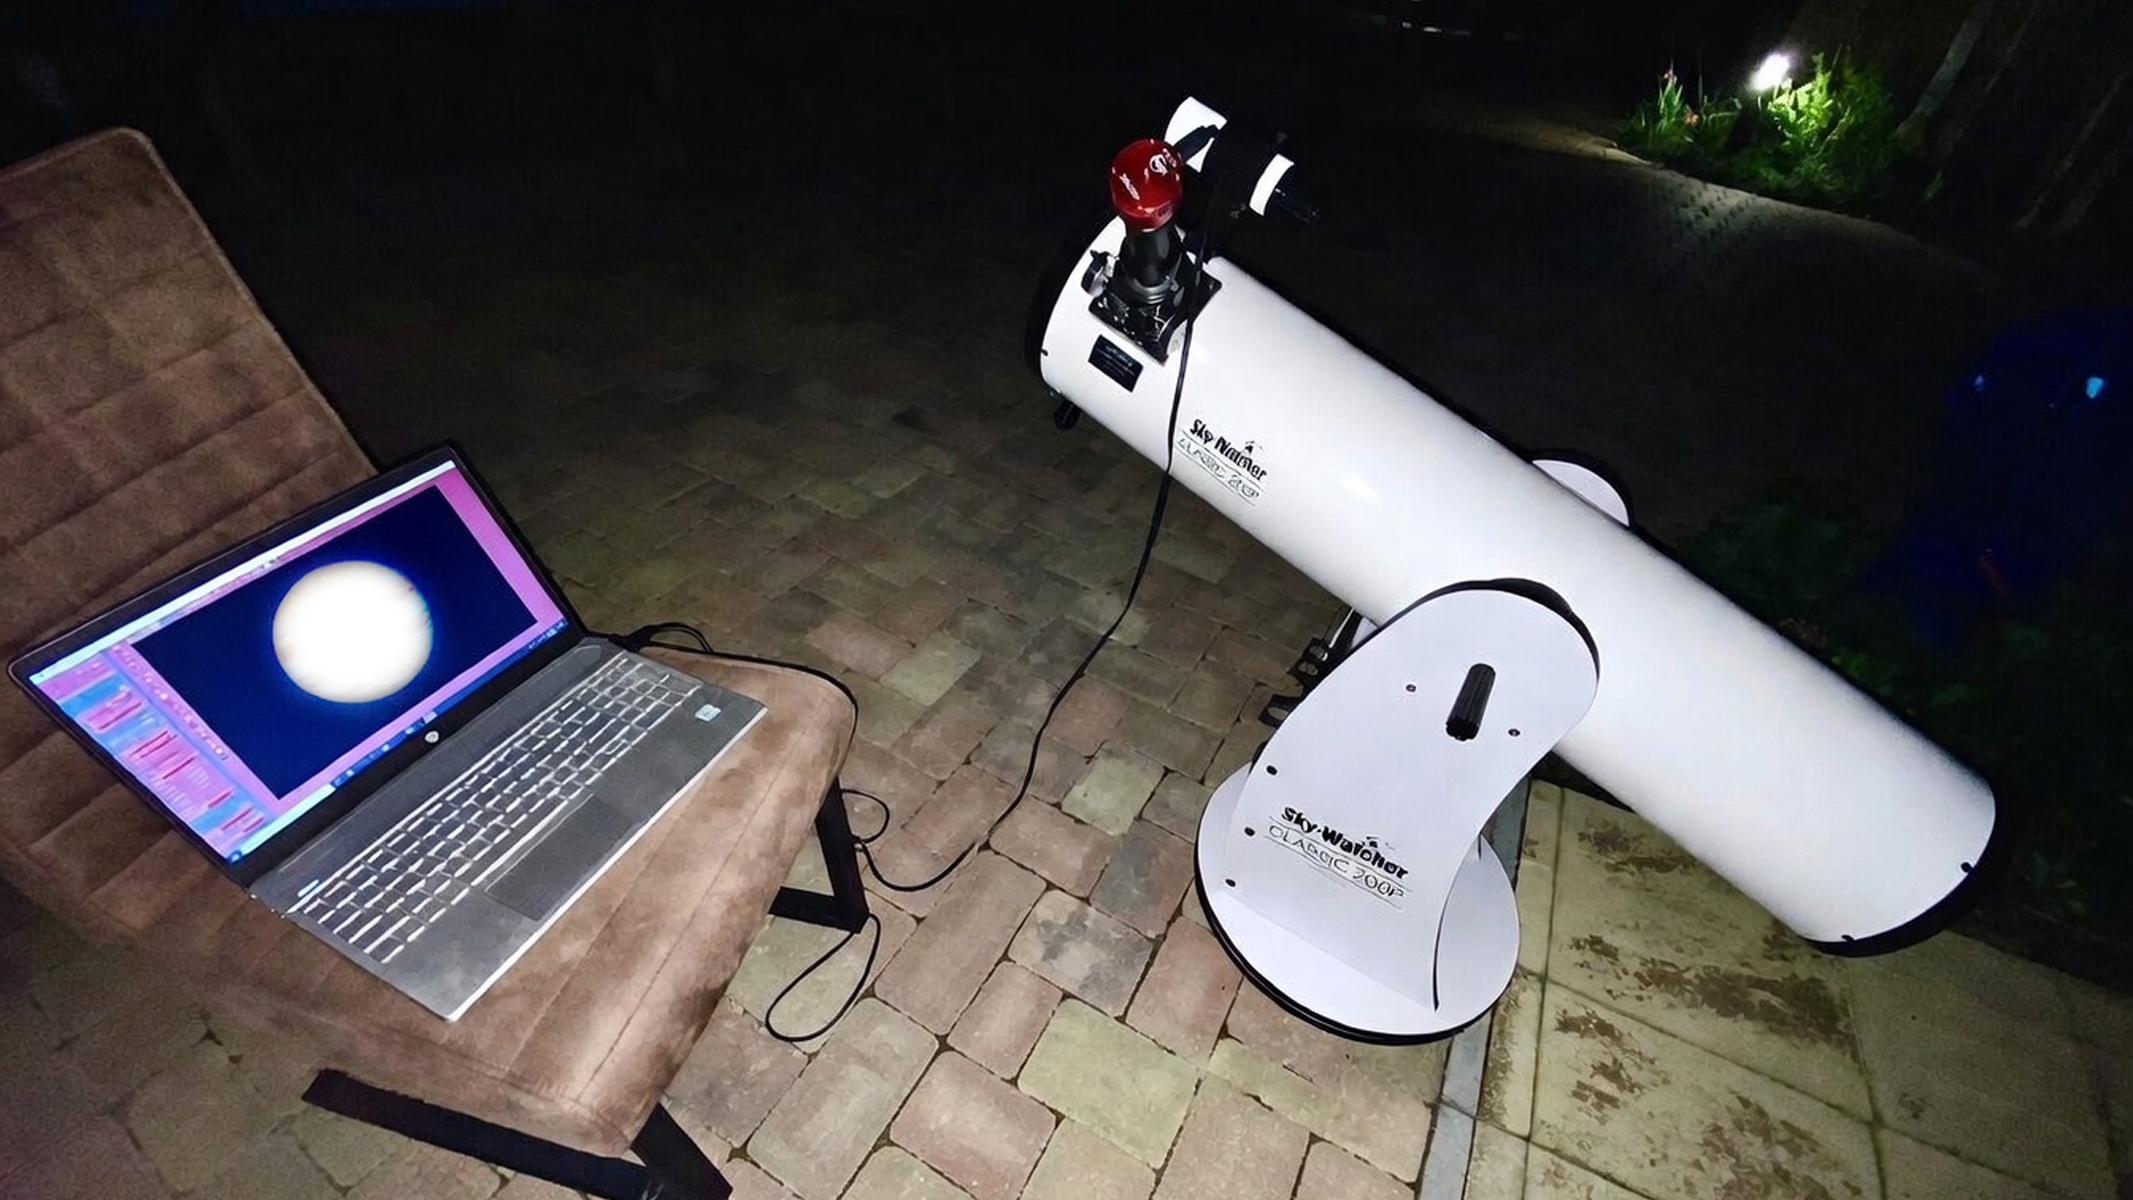
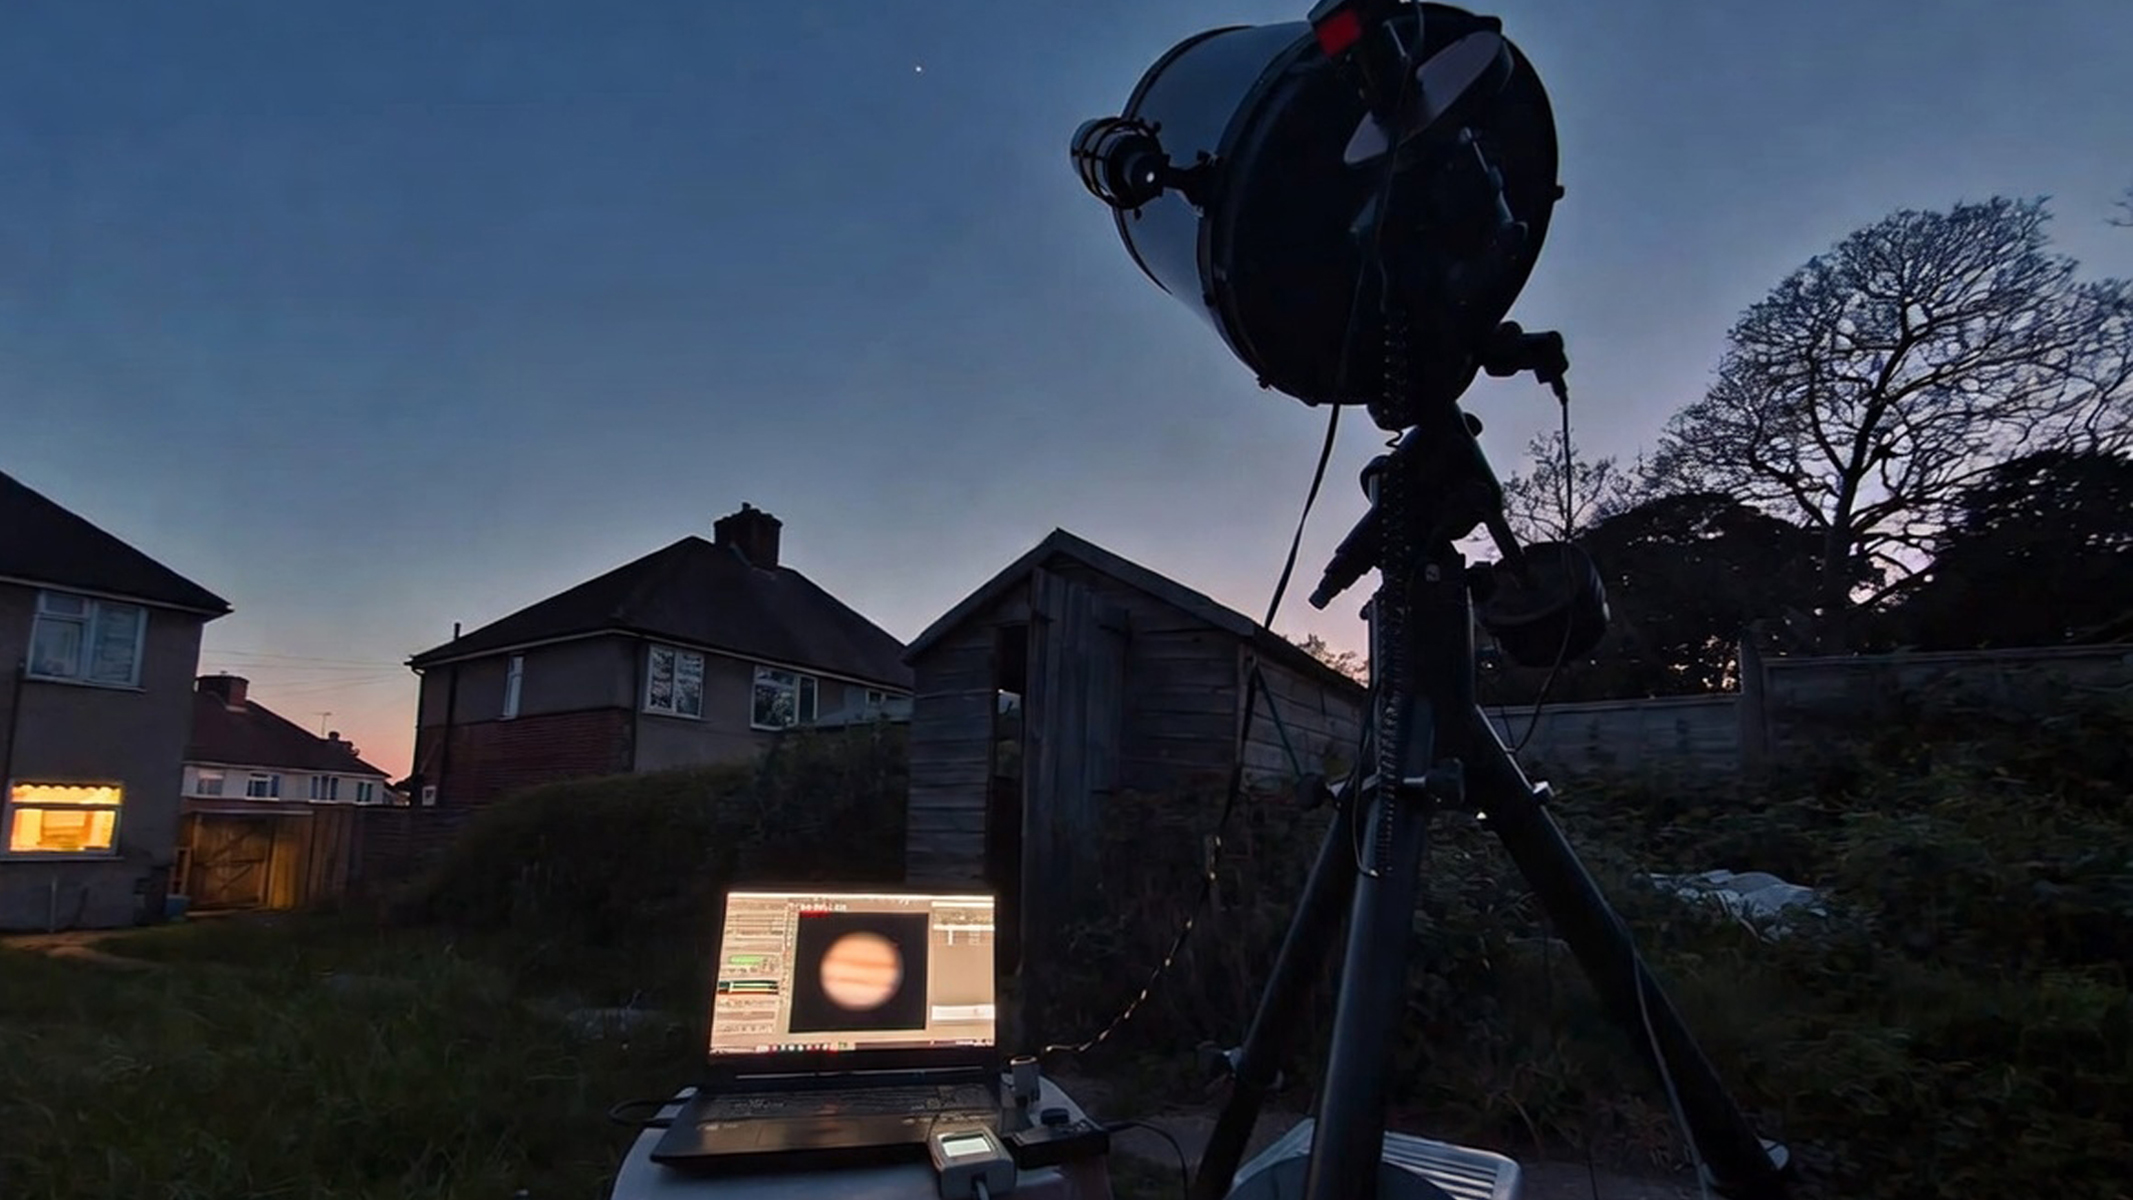
Set your telescope up outdoors early. Allow it to cool for at least a couple of hours so that internal air currents do not blur the view. Level the tripod and power on your motorized mount.
3. Use a motorized tracking mount
A motorized tracking mount is essential. For GoTo systems such as Celestron NexStar models, perform a quick two-star alignment and sync directly on the planet. Equatorial mounts need polar alignment for smooth tracking. Alt-az tracking Dobsonians need just a quick one- or two-star alignment to get you underway.
Centering the planets make take a little while, less with a GoTo mount, but it's absolutely essential.
4. Locate and center the planet either manually or via GoTo. Use the finder scope or red-dot finder, then switch to a low-power eyepiece to bring the target into view and center it as best you can.
5. Increase your magnification
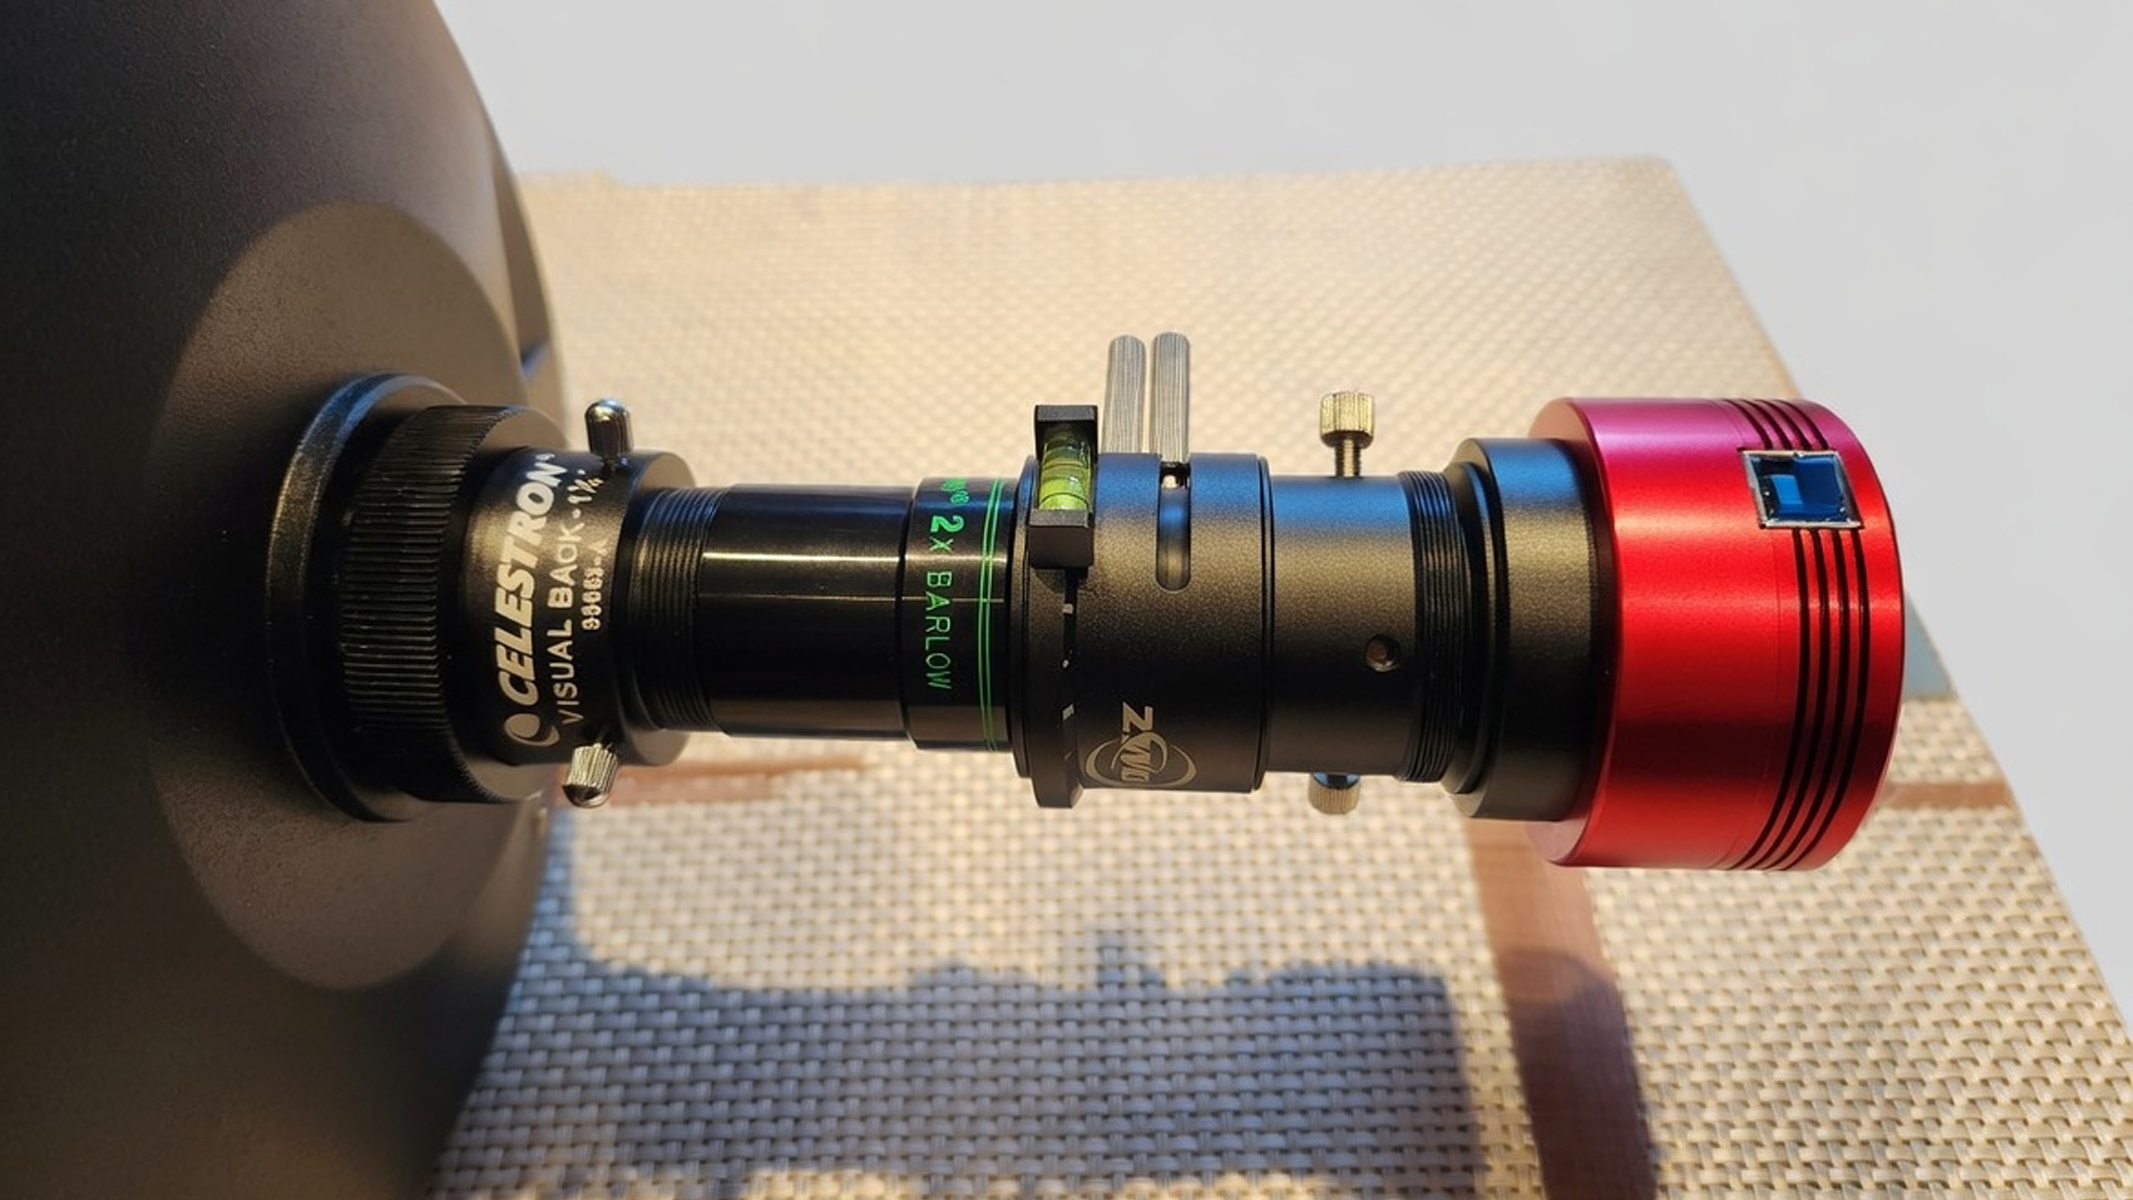
Add magnification. Insert a 2x or 3x Barlow lens or Powermate into the focuser. This increases focal length to fill more of the camera sensor with the small planetary disk. Once that’s done, check your telescope collimation on a star – this is essential for this kind of astrophotography. Adjust the collimation screws to give a nice concentric, out-of-focus star pattern that looks like a bullseye.
6. Synchronize your laptop
Connect to your laptop. Plug the camera into a USB port and launch capture software such as SharpCap or FireCapture – both programs are freely available for use.
7. Connect the camera
Remove the eyepiece and connect your planetary camera — such as a ZWO ASI224MC,ASI585MC or similar — using the appropriate 1.25-inch nose piece or T-ring. Secure everything firmly.
8. Keep things central
Center the planet. Spend time focusing carefully on the planet itself. Slowly adjust the focuser while watching surface details sharpen. Many imagers slightly defocus, then refocus through the sweet spot for precision. Do this several times to get the best focus you can. Atmospheric seeing conditions will seriously impact how easy this step is.
9. Setting correct parameters is crucial
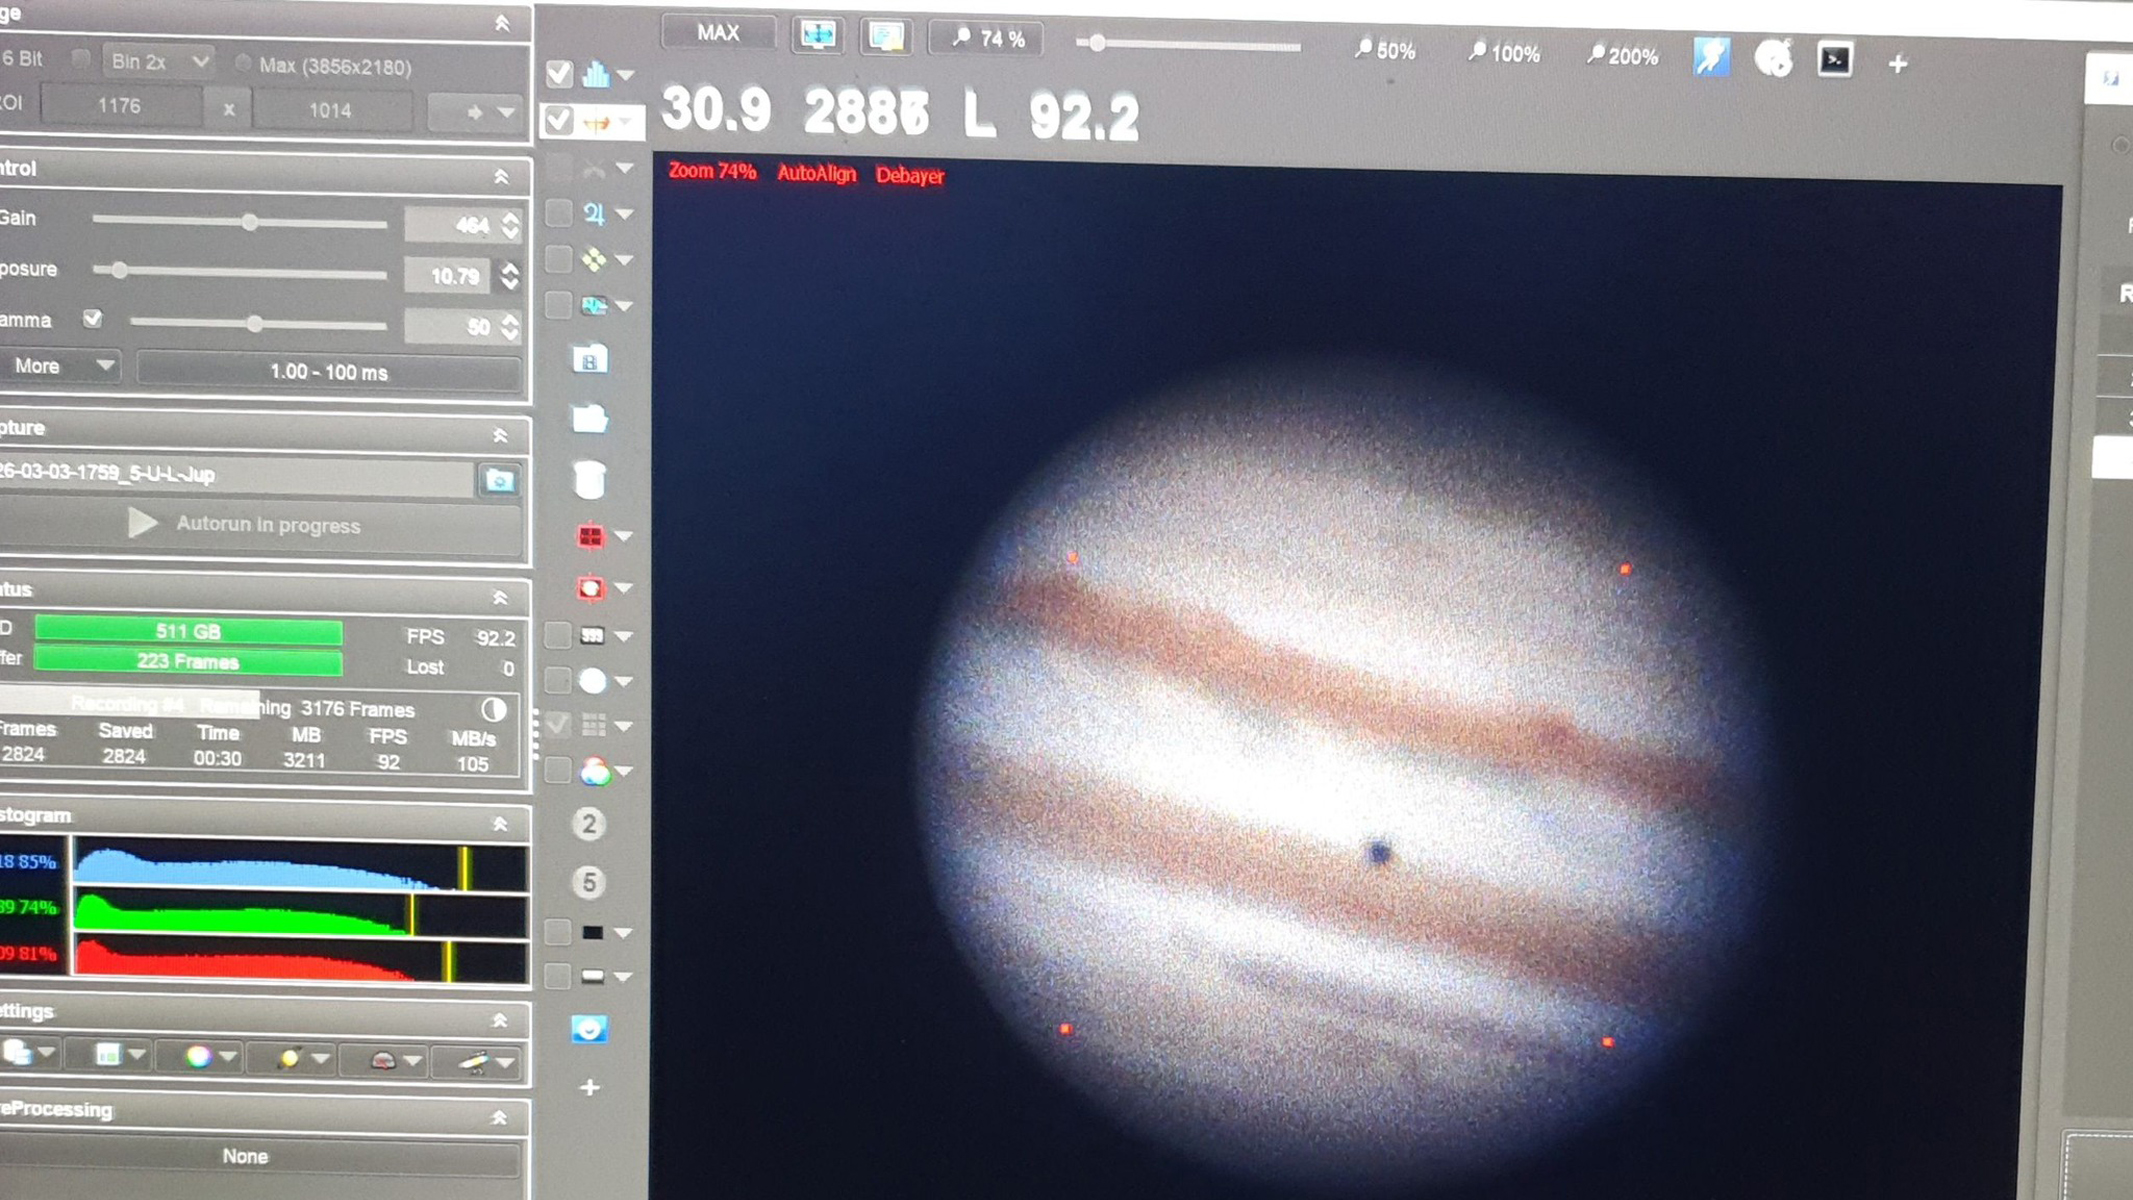
Set camera parameters. Choose a high frame rate — 50 to 100 frames per second or more. Keep exposure short and gain moderate, so the planet fills at least 80% of the histogram without clipping highlights. Enable color debayering or monochrome mode as appropriate.
10. Time to shoot video
Record videos. Capture plenty of short videos of 60 to 120 seconds each, aiming for several thousand frames per run. Save in SER format for ease of use in other software.
11. Transfer and preview
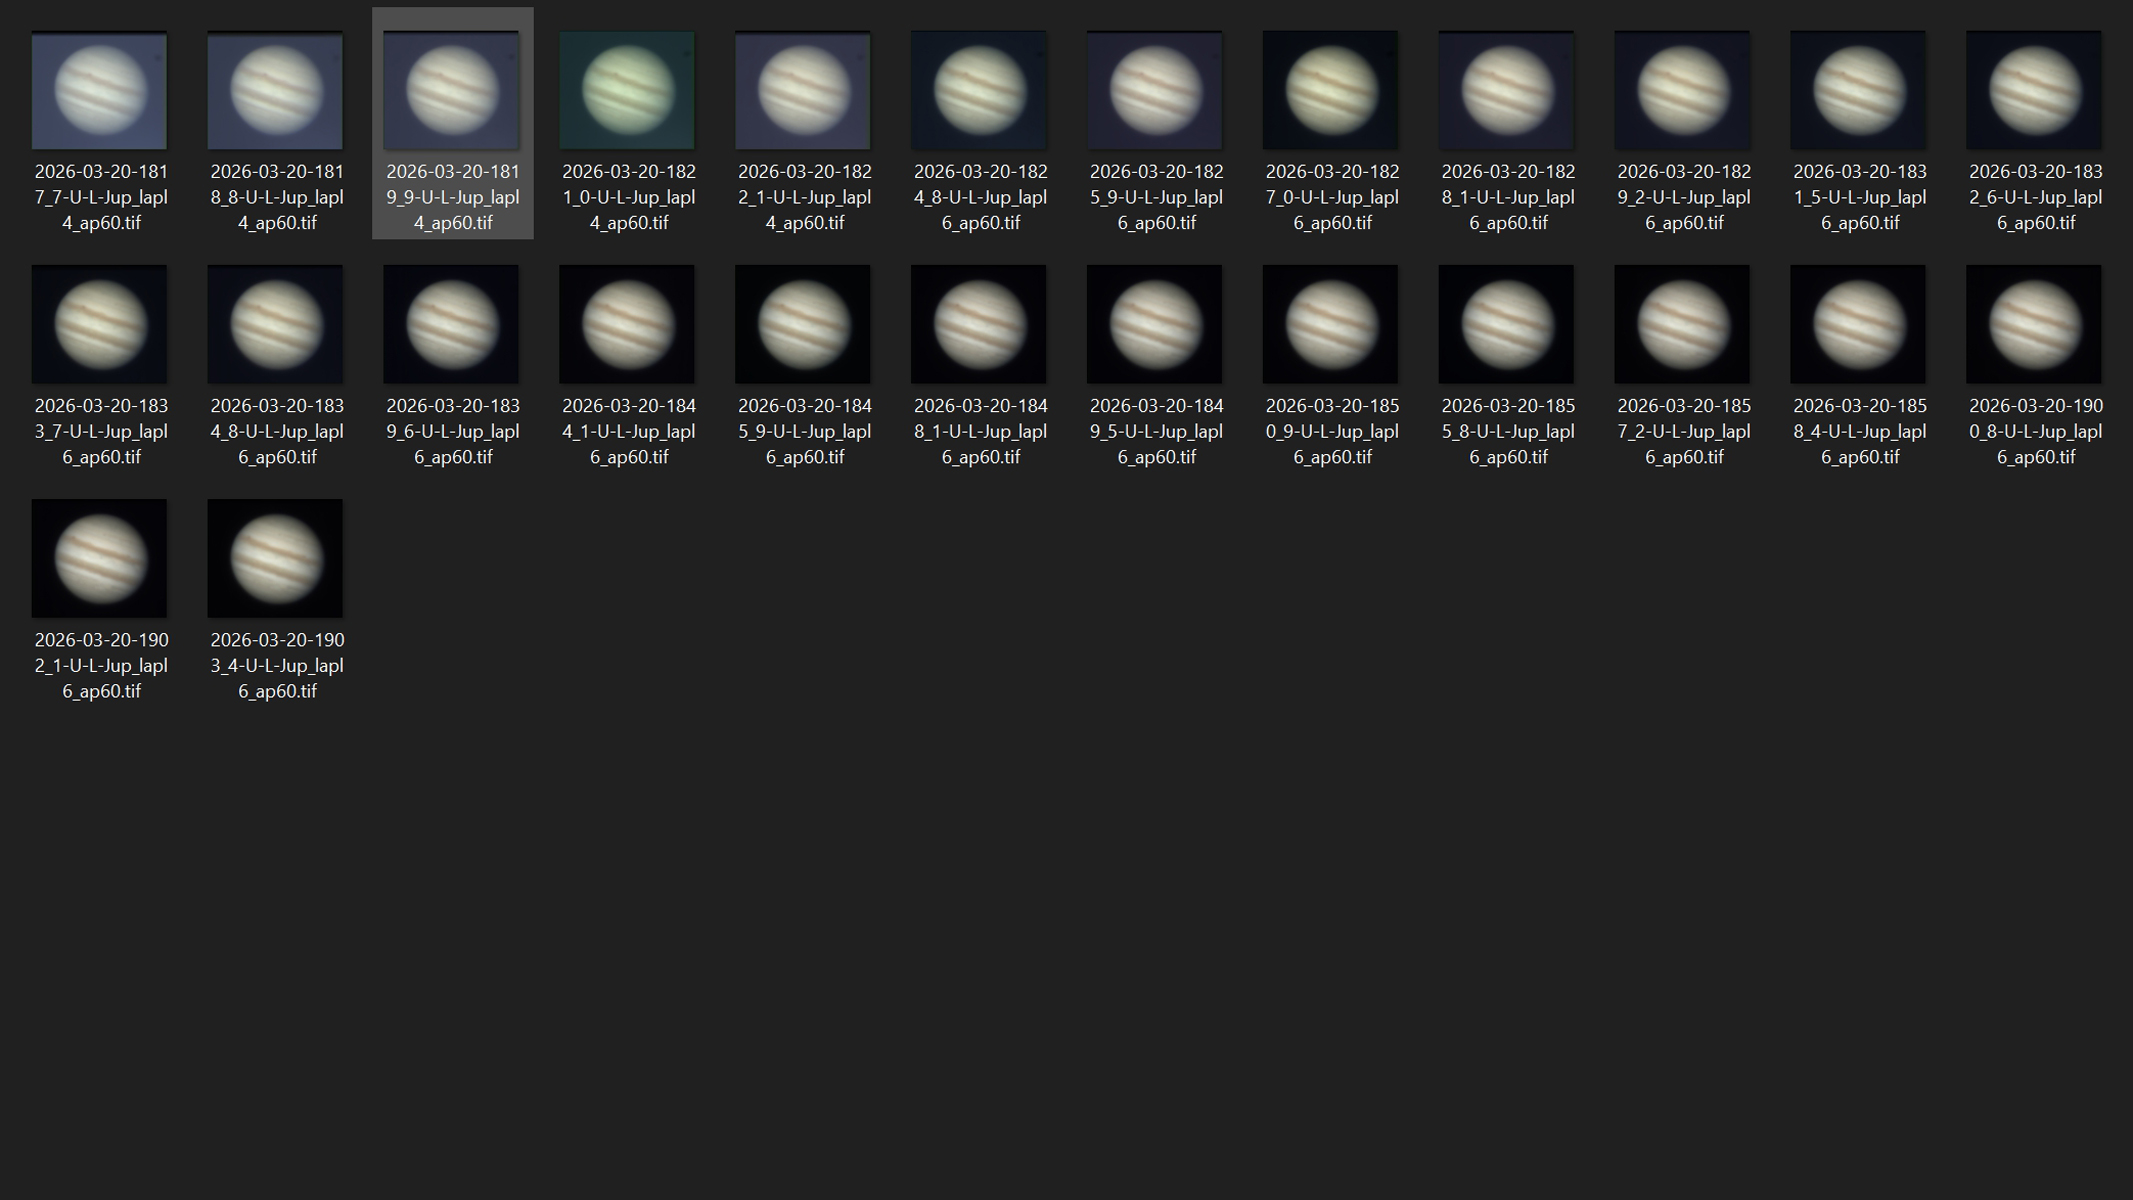
When finished, transfer and review files. Preview clips to discard any with obvious drift or poor seeing.
12. Process the data
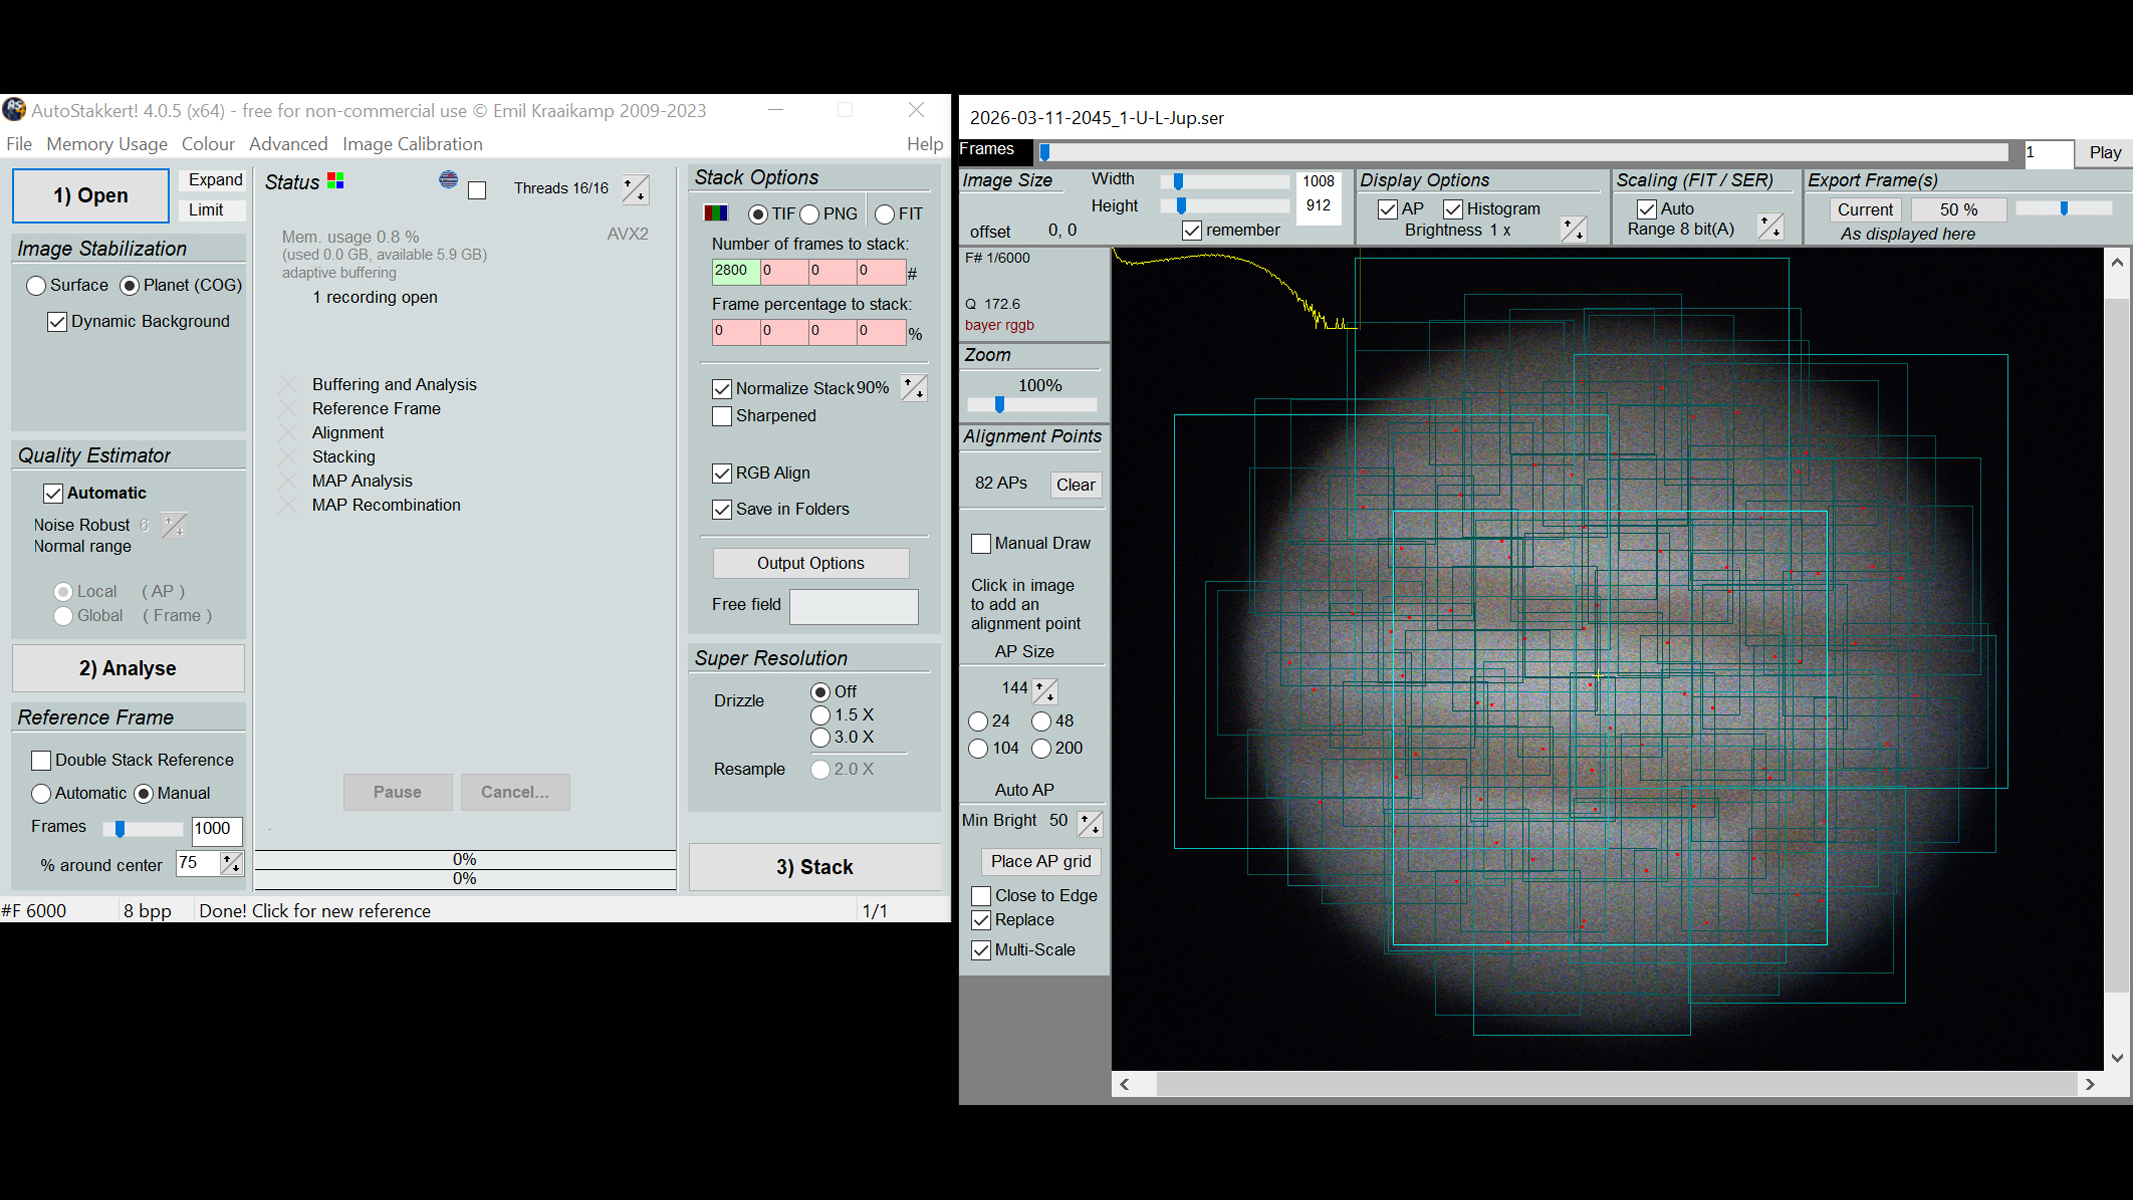
Process the data. Open your best videos in AutoStakkert! to align and stack the sharpest 20 to 50% of frames from each video. Export the result to LuckyStackWorker or RegiStax. Apply wavelet sharpening in layers, adjust the histogram for contrast and balance the color channels. Export your final image.
Repeat the process on multiple nights. Each session builds skill and yields better data — it can take many attempts before catching some great quality data. Patience is essential.
The best planets to target with your telescope and camera
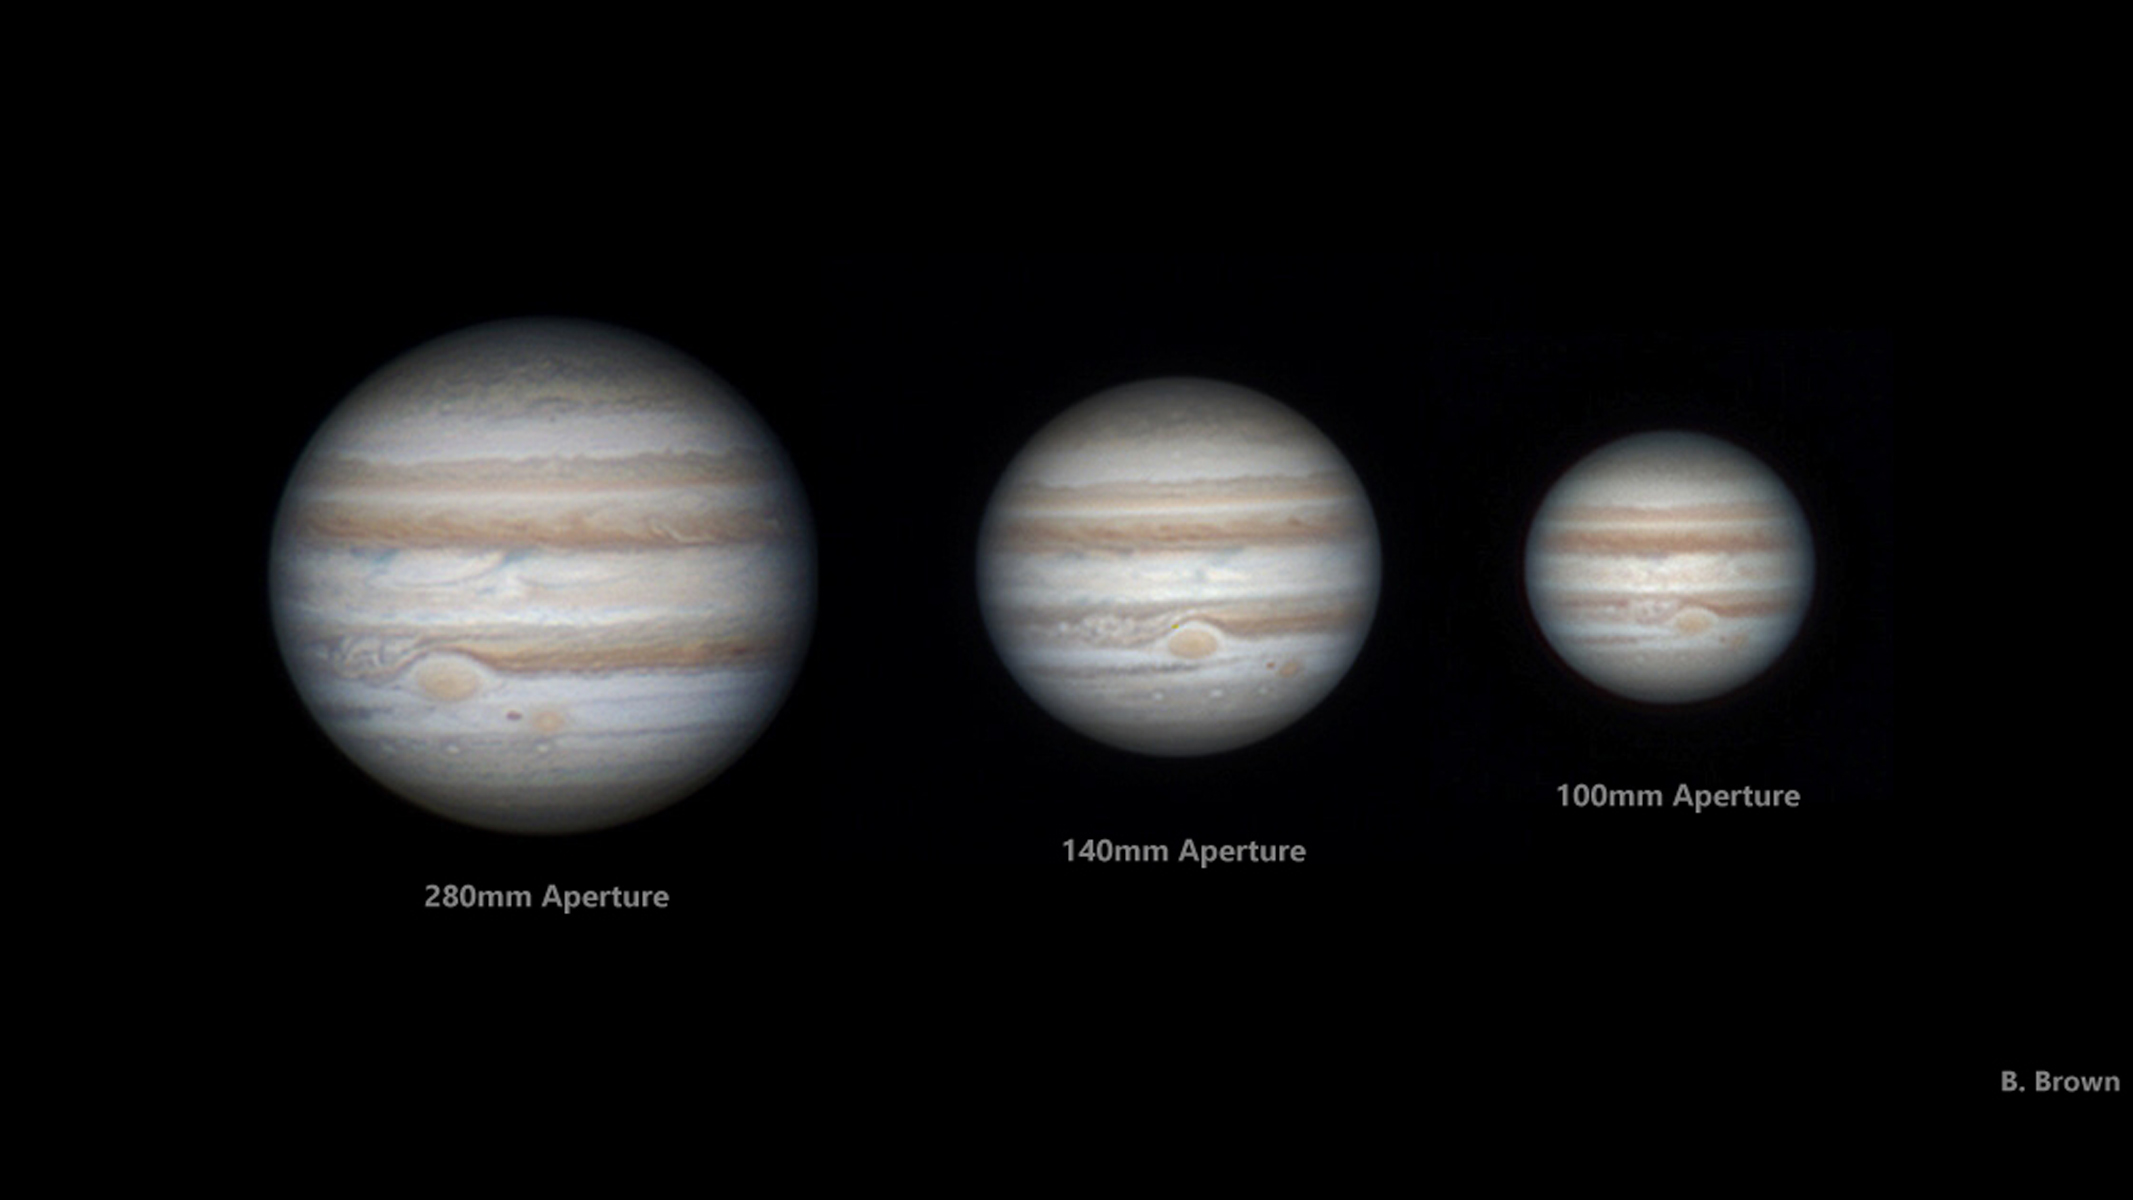
Jupiter ranks as the top choice for beginners – and perhaps even veterans! Its large disk shows colorful cloud bands, the Great Red Spot and orbiting moons even in modest telescopes. The planet’s brightness and size tolerate average seeing well and reward those even with modest equipment.
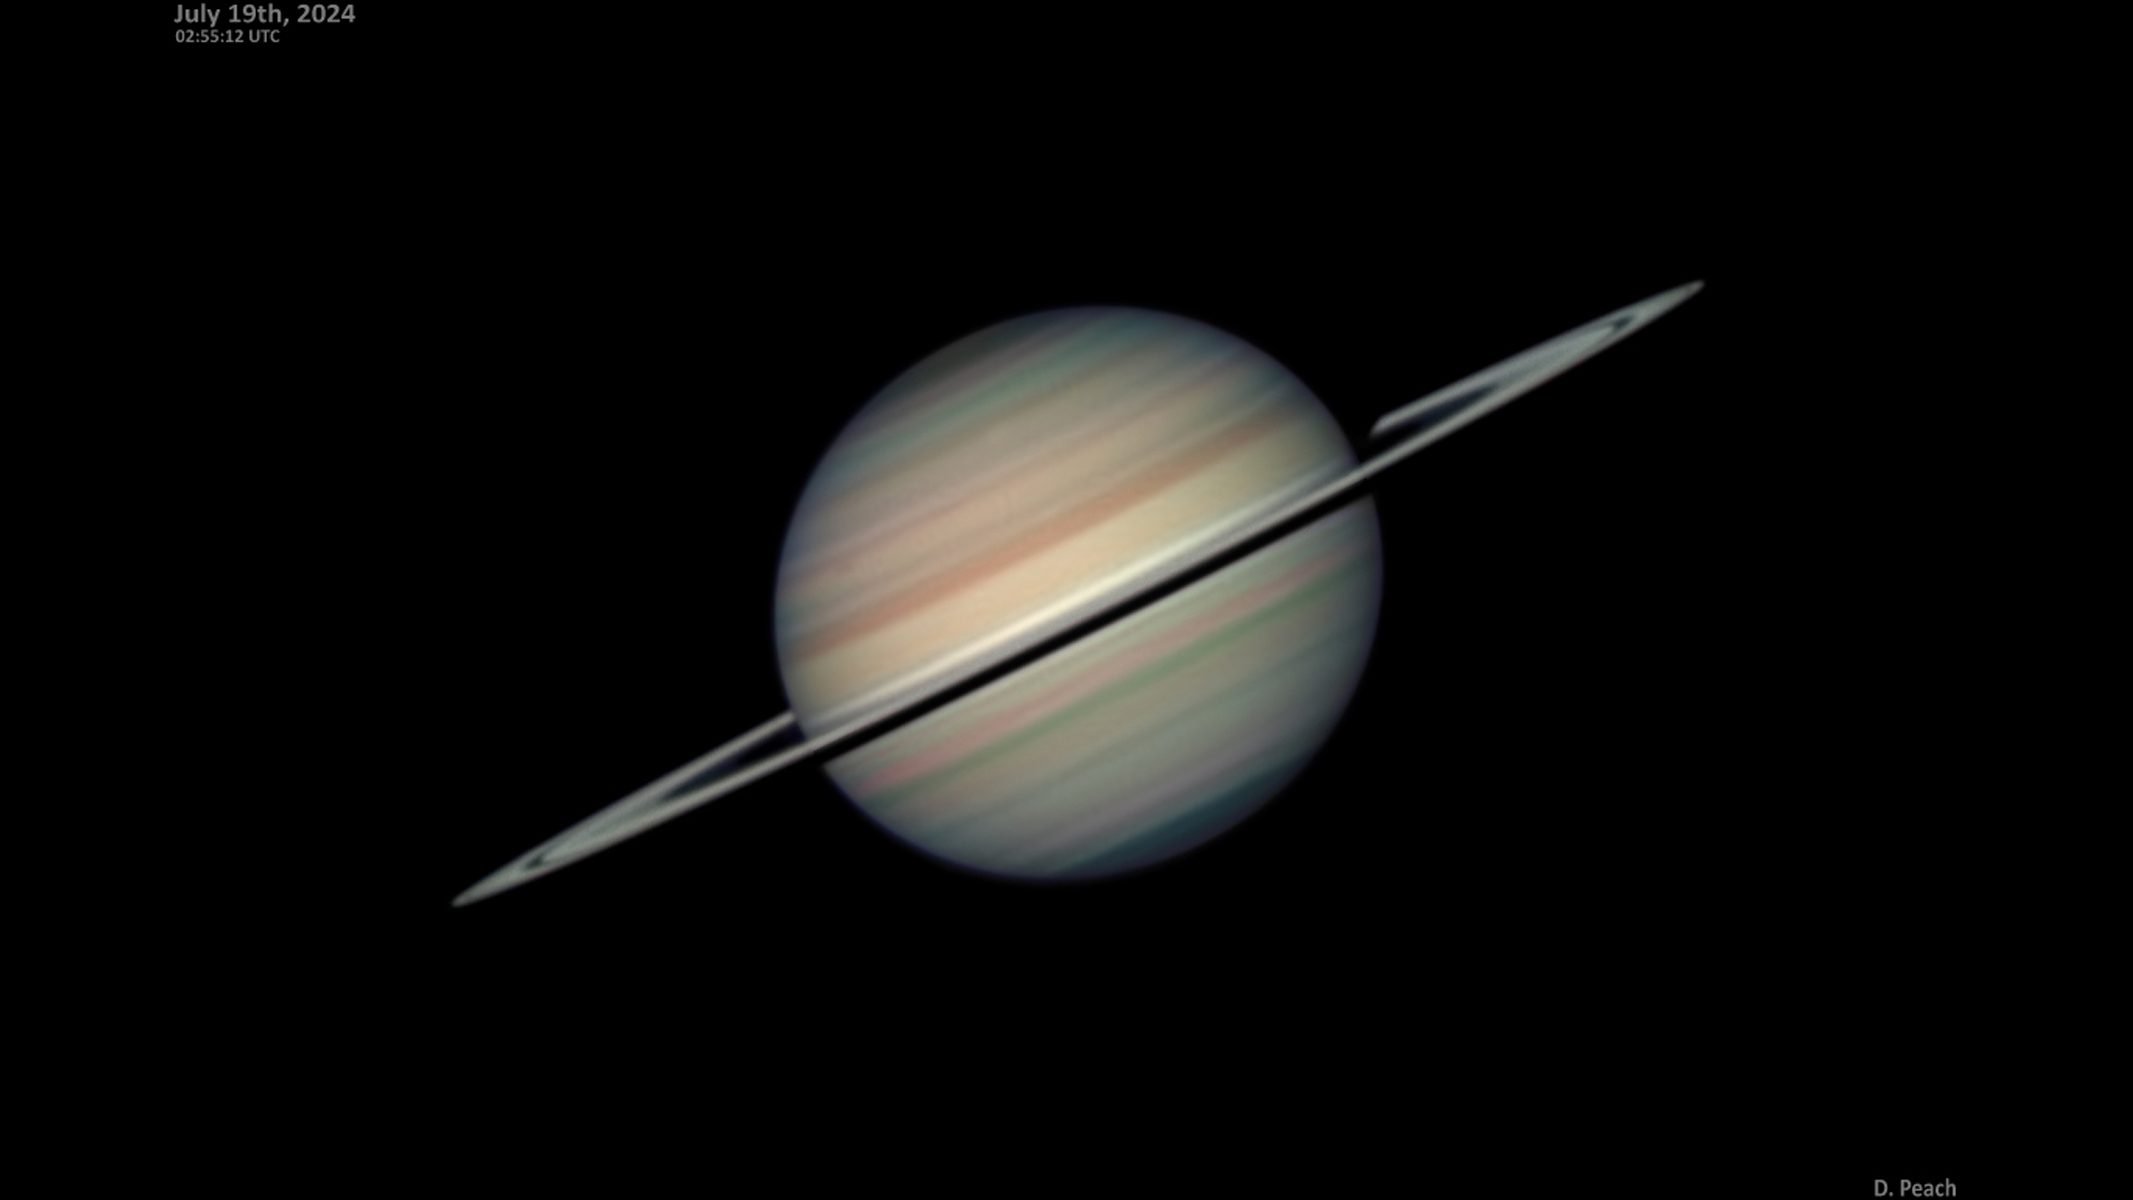
Saturn follows closely. Its iconic rings and subtle atmospheric banding create dramatic images. While significantly dimmer than Jupiter, modest telescopes easily reveal its brilliant rings, and the belts and zones within the planet’s atmosphere.
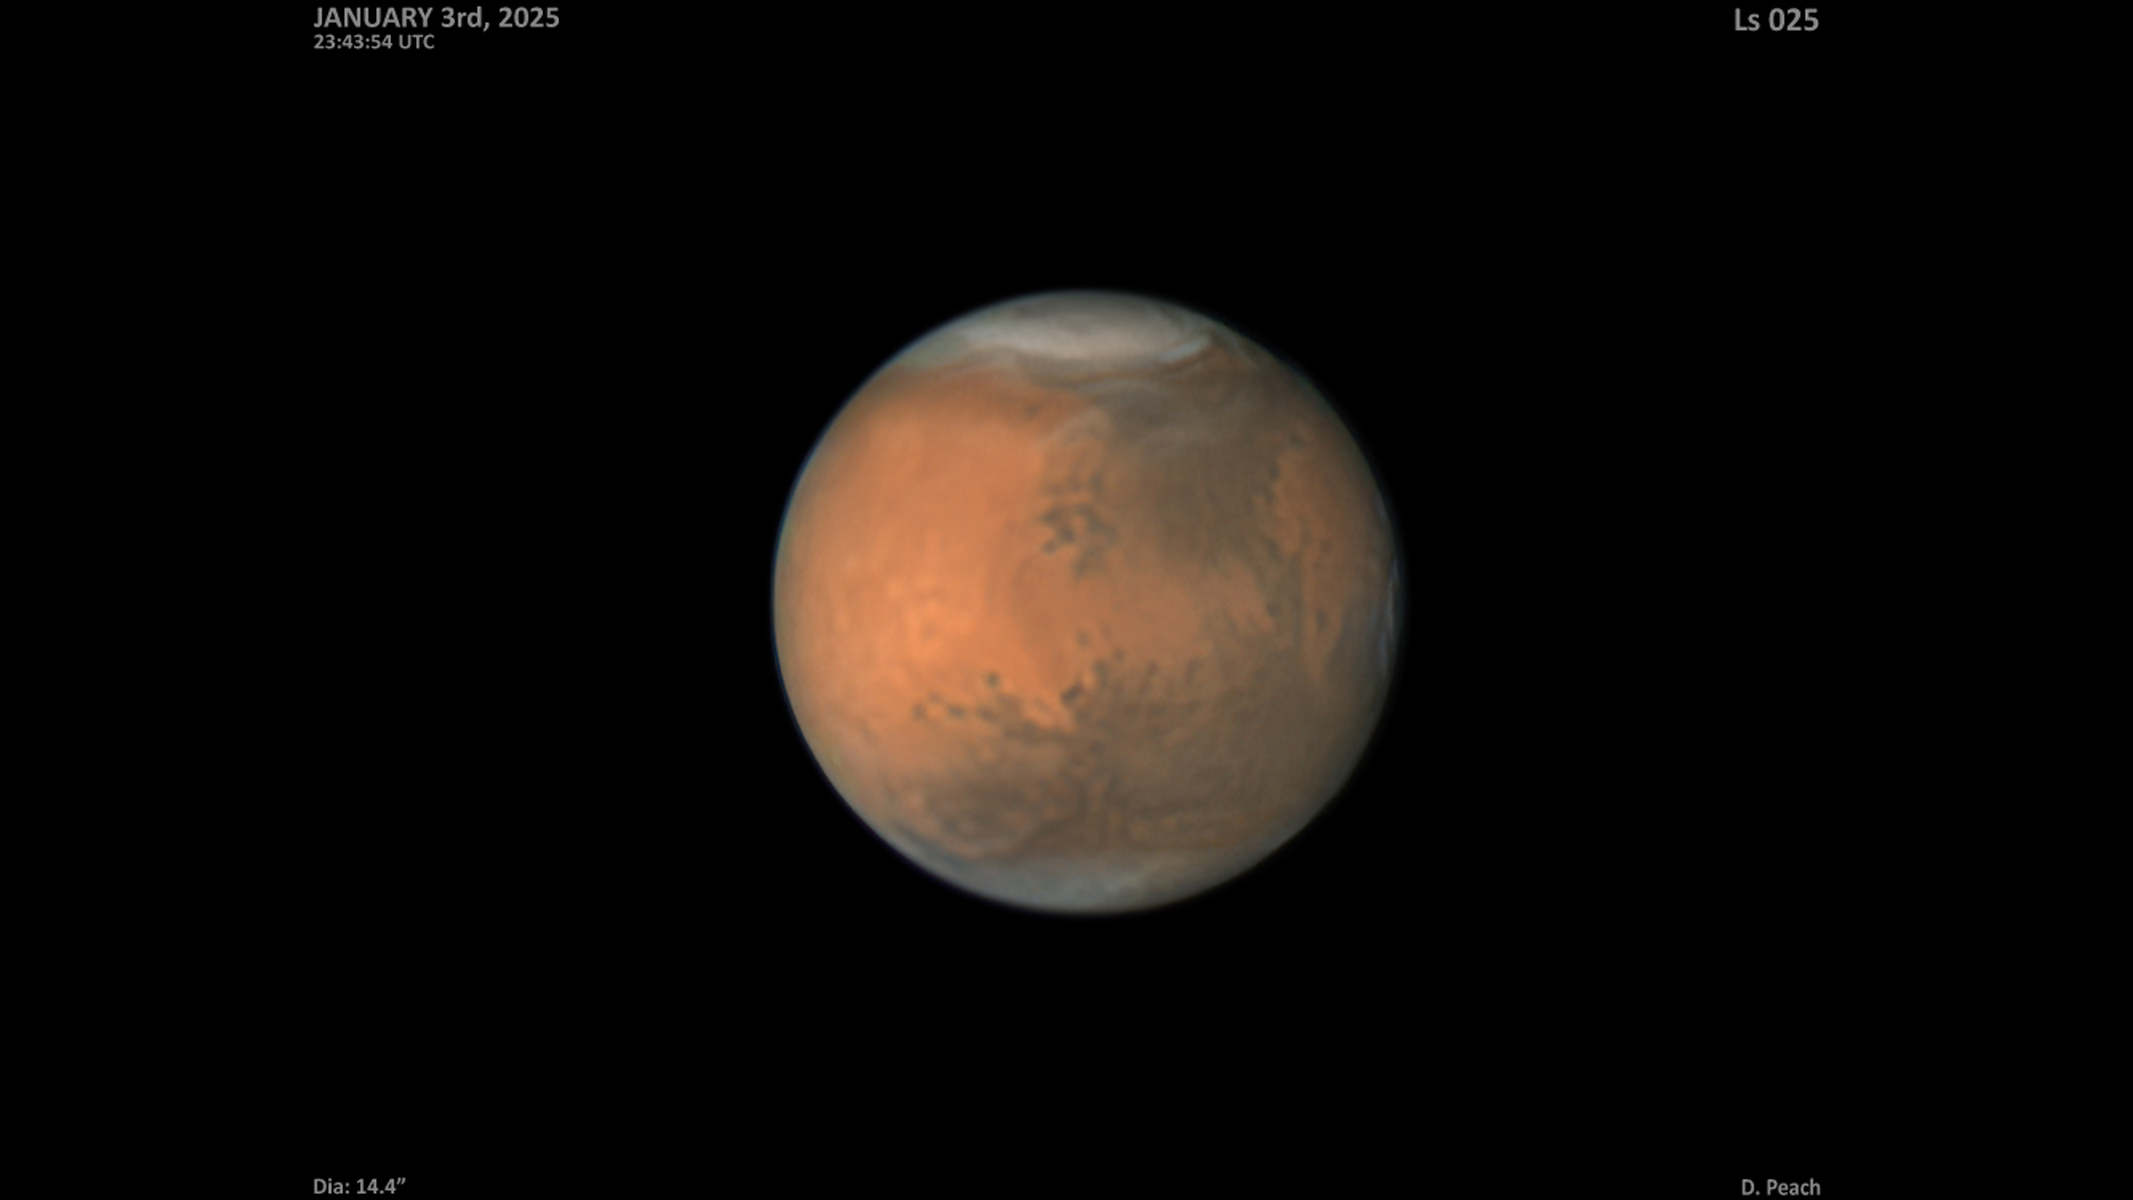
Mars delivers excitement during its oppositions every couple of years. At closest approach the planet swells in apparent size, revealing dark surface markings, polar ice caps and occasional dust storms. Again, even small telescopes reveal fascinating detail when the planet is close to opposition.
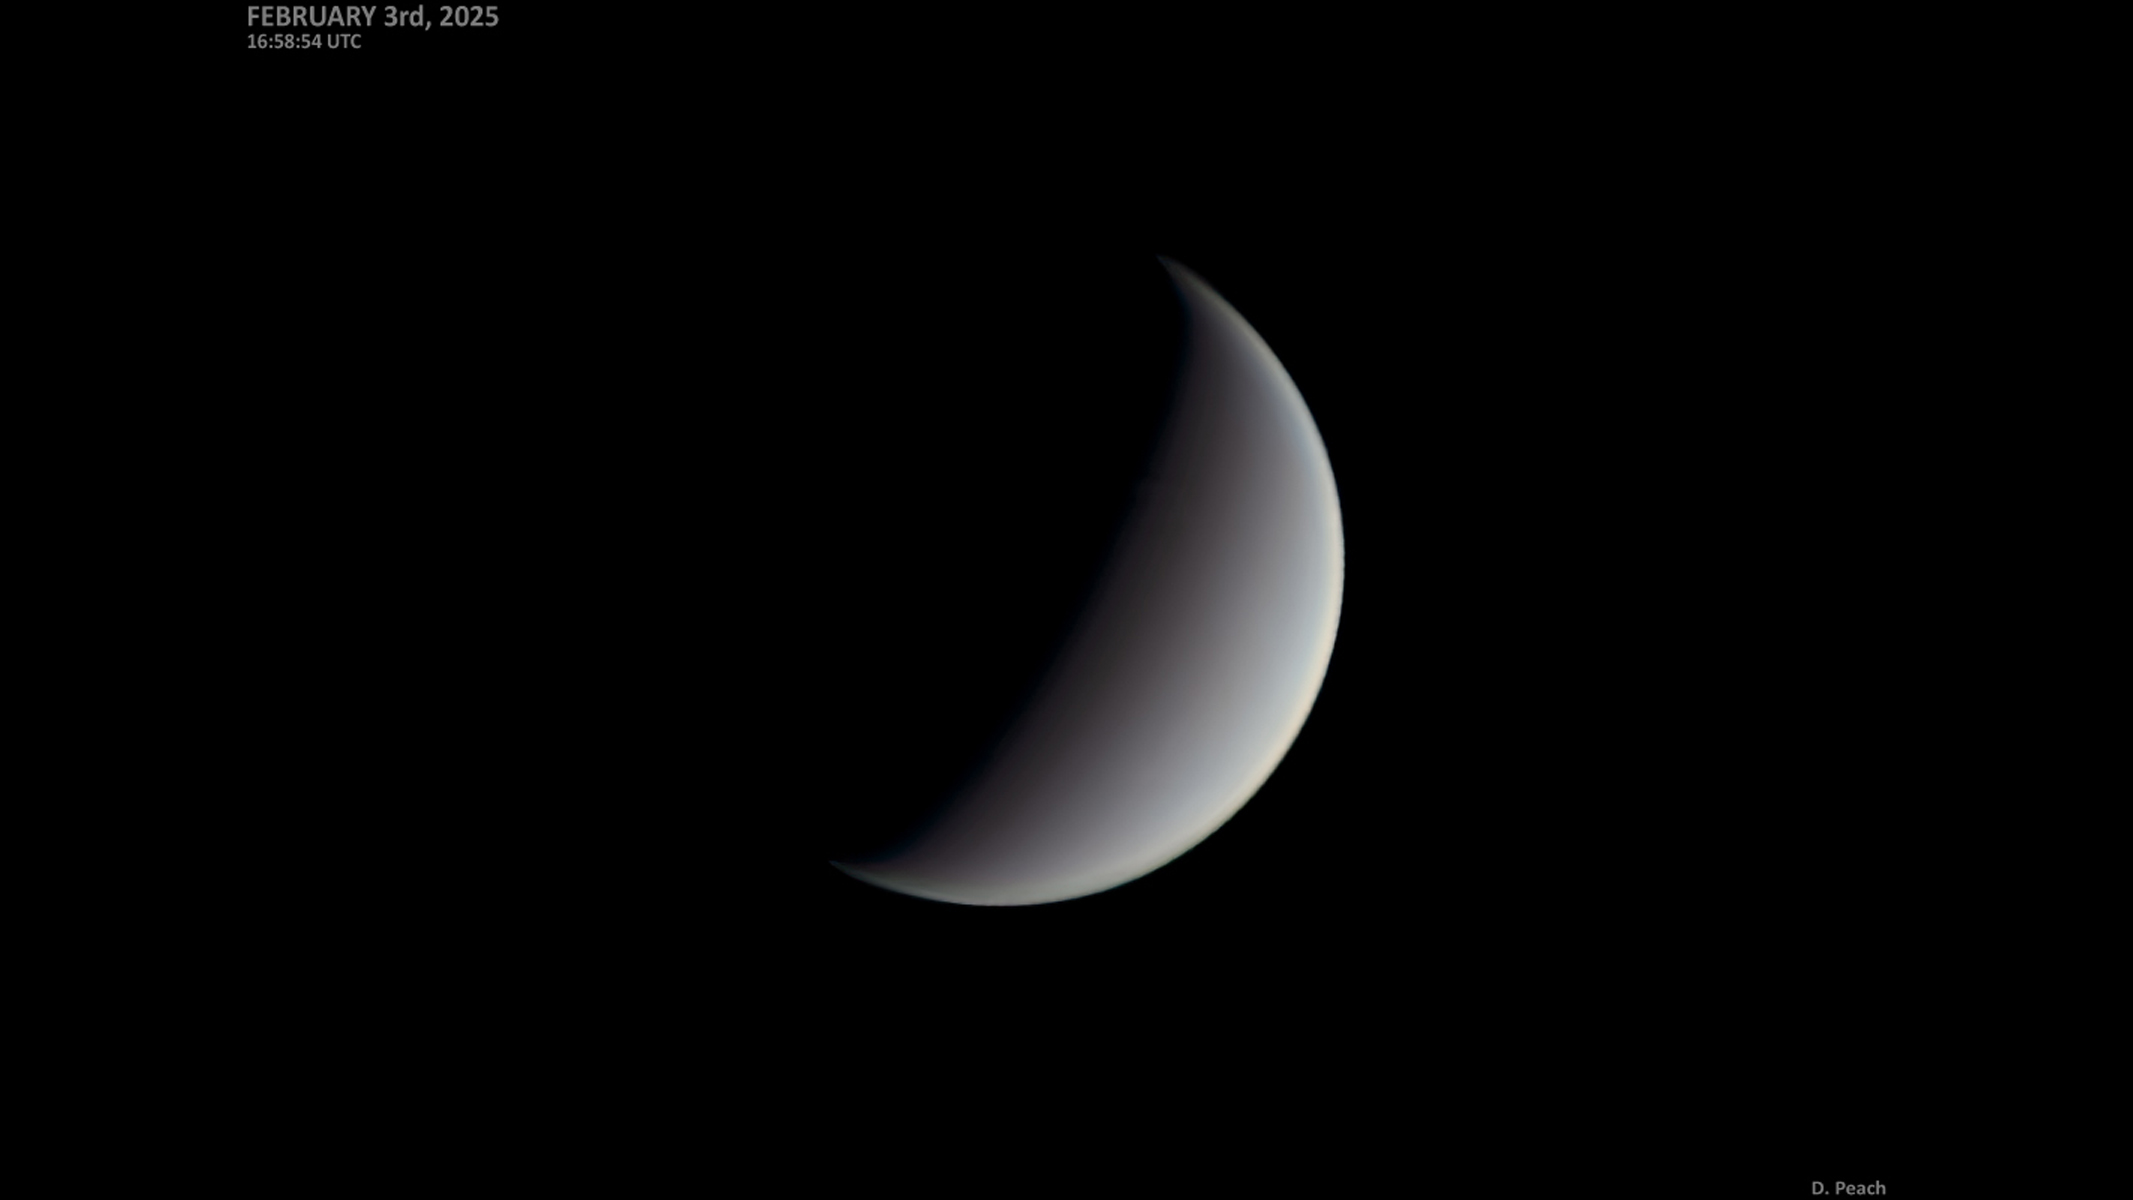
Venus offers an easy entry point. Extremely bright and straightforward to locate, it displays clear phases like a miniature moon. Cloud features require ultraviolet filters, but the phases alone impress viewers — even binoculars show these phases clearly.
These four planets share key advantages: They appear large and bright enough for small apertures to record good detail on them. Jupiter, Saturn and Mars are the top three – all are fascinating objects to study for observers of all experience levels.
Handling the more challenging solar system targets, however, requires more advanced equipment and experience levels.
Mercury, Uranus and Neptune present greater challenges. Mercury stays glued to the sun’s glare, visible only briefly at dawn or dusk and best at maximum elongation. Its tiny disk demands exceptional seeing and precise daytime locating skills as well as a decent size telescope.
Uranus and Neptune appear as tiny blue-green disks. Their small apparent sizes require at least an 8-inch aperture telescope, longer focal lengths and higher magnification. Larger apertures gather more light, while monochrome cameras with filters help tease out subtle banding.
Upgrading to a 10-inch or larger telescope, a high-sensitivity monochrome camera and a filter wheel unlocks these distant worlds. Start with the easier quartet before investing further.
Frequently asked questions
When is the best time to image the planets?
Aim for nights when the target planet rides high in the sky — ideally near the meridian — to minimize atmospheric turbulence. Planets such as Jupiter, Saturn and Mars look largest and brightest around opposition, when Earth lies directly between them and the sun. But good seeing matters more than the calendar: stable air with low turbulence yields sharper frames regardless of season. Check forecasts and look for periods of high pressure with stable weather and calm winds. Planetary imaging works year-round on clear nights, but spring and fall often deliver steadier conditions. Light pollution is also irrelevant to this form of imaging, so it’s something you can easily undertake from urban locations.
What is the most basic setup you need to do this?
A 4- to 6-inch aperture telescope on a motorized mount — such as a Celestron NexStar 6SE or anything similar — provides an ideal starter platform. Pair it with an entry-level planetary camera like the ZWO ASI224MC, plus a 2x Barlow lens and a laptop running free software. Total beginner budget often stays under $800 if you already own the telescope. This kit can capture excellent Jupiter and Saturn images without breaking the bank. Skip expensive cooled cameras or large apertures until you gain experience.
How long does it take to get a good image?
The real key to achieving good image quality is everything you do before pressing the record button: Making sure the telescope is properly cooled down, ensuring it is properly collimated, taking time to focus carefully. All these factors play a huge role. Beyond this, it is largely down to the steadiness of the atmosphere when capturing. The steadier the seeing, the better the result will be!
Summary
We hope that, with a little practice, this gives you the know-how you need to take stunning images of the planets. If you've yet to purchase the necessary equipment, take a look at our guides to the best telescopes and best dedicated astrophotography cameras.





 Bengali (Bangladesh) ·
  English (United States) ·